Setting Up and Using the Filastruder: Tips for Optimal Performance
The Filastruder is an excellent tool for recycling plastic, and a game-changer for anyone looking to reduce their plastic waste footprint and create their own 3D printer filament. Setting up the machine correctly is key to ensuring smooth operation and machine longevity. In this blog post, I’ll walk you through the essential steps for setting up the Filastruder and offer some tips for getting the best performance.

Step 1: Assembly and Setup
The first thing to do is to assemble the Filastruder, which usually comes with clear instructions. The key components include the motor, barrel, gearbox, barrel, and auger bit. Make sure to follow the directions carefully and take breaks when assembling. I know for me although the directions were clear I spent a lot of time assembling. It’s not like most 3D printers nowadays which come in a box with like 3 parts that only require a couple of bolts to install.
Once the machine is assembled, place the Filastruder on a stable, flat surface where it won’t be disturbed during operation. The most frustrating part of assembly for me was getting all the wires to the correct place. Once you have triple-checked the wiring Ensure that the power supply is connected properly and that the temperature settings are correct for the type of plastic you plan to use.

Step 2: Initial Cleaning
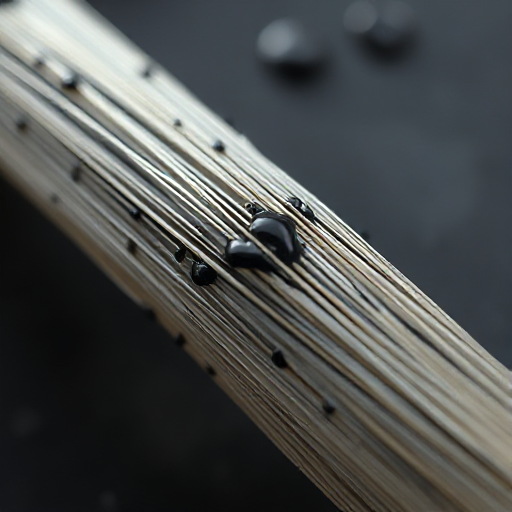
Before you start using your Filastruder with your plastic waste, it’s important to clean the barrel. When the machine is new, there may be oil residue left inside the barrel from manufacturing, which can affect the quality of your filament. To clean it, power the Filastruder on and run it with a small amount of plastic through the system (ideally, use a lower-grade plastic that you won’t mind discarding). This will help flush out any residual oils and ensure that the plastic extrusion process runs smoothly from the start.
I recommend using a white or clear plastic that way you know your machine is fully cleaned when the extruded plastic is no longer tainted in color. This cleaning process is also a good test run before you start attempting to obtain standard quality filament from home. You will know that you need to keep cleaning because your filament will still be coming out like this AI-generated image:

Step 3: Hanging the Filastruder Vertically
For better performance and to avoid issues with inconsistent filament diameter, it’s recommended to hang the Filastruder vertically during operation. This gives the Filawinder, a helpful tool to use in tandem with the Filastruder, enough slack to pull in filament and not affect the still hot filament minimizing the potential for the Filawinder to pull the diameter of the filament too thin.
To use the Filastruder vertically you will need to adapt your hopper. I was able to easily find free STLs of vertical hoppers on Thingiverse, I printed those out and they worked great. Be careful that you print your new hopper out of ABS or even PETG because PLA does not have the heat resistance required to last very long, so you would need to print a new hopper every time you want to use the Filastruder.

Step 4: Lubricating the Bearing
Another important tip, that I missed completely my first time, is to regularly lubricate the bearing in the Filastruder. The bearing plays a crucial role in the movement of the auger bit and the extrusion process, so if it’s not properly lubricated, it can wear out and cause inconsistent extrusion and annoying and loud screeching sounds. Periodically check the bearing, and add some simple lubrication, any lubricant is better than none.

Conclusion
By following these tips—hanging the Filastruder vertically, cleaning the barrel before first use, and keeping the bearing lubricated—you can maximize the efficiency of your Filastruder and extend its lifespan. With proper care and maintenance, the Filastruder will be a reliable tool for creating high-quality filament from recycled plastics, saving both money and reducing waste in the process. If you want to learn more about the Filastruder click here! Happy recycling!